Darkbulb
Member #10
Thought it would be fun to see if this thread could be of interest to people over here as we have a lot of SOTD photos being posted ")
I find 'behind the scenes' and/or 'before and after' photo threads interesting as they can, if nothing else, often be entertaining - and maybe in some cases re-assure one that you don't need fancy equipment/setup to achieve a look that you want.
Not that these photos of mine are any masterpieces in any way, shape or form but it could be fun to show that things are not as neatly planned/prepped as some photos may have you believe
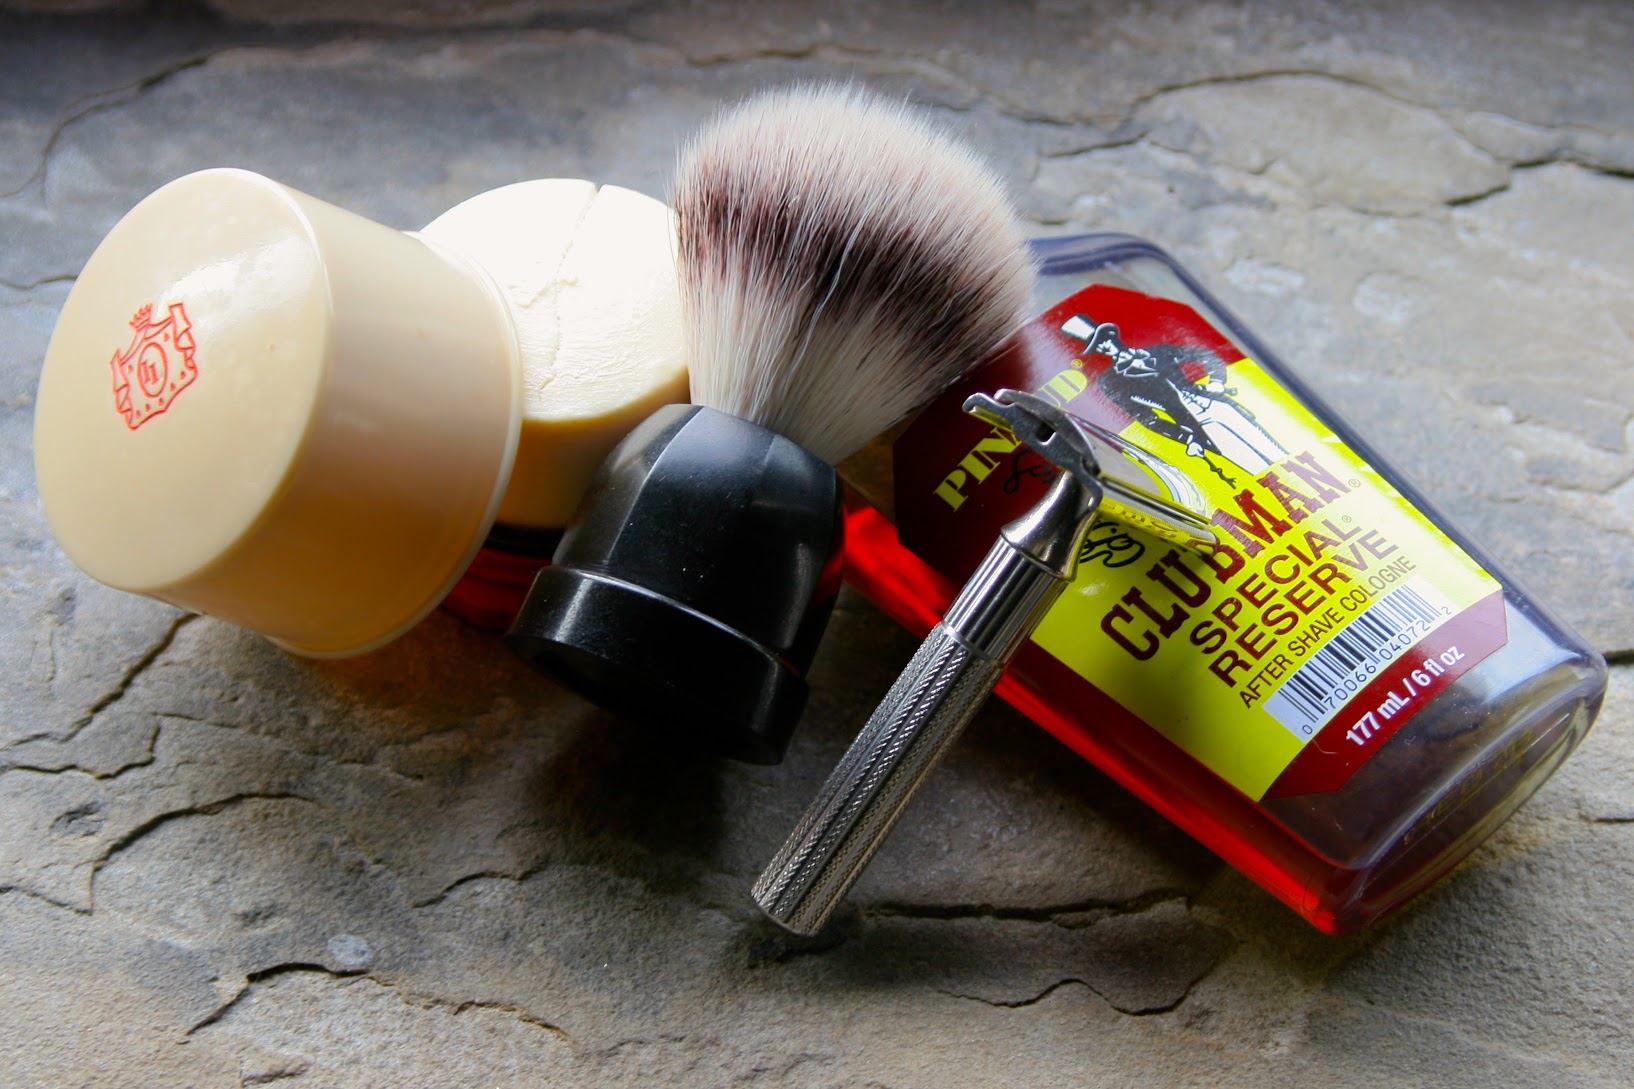
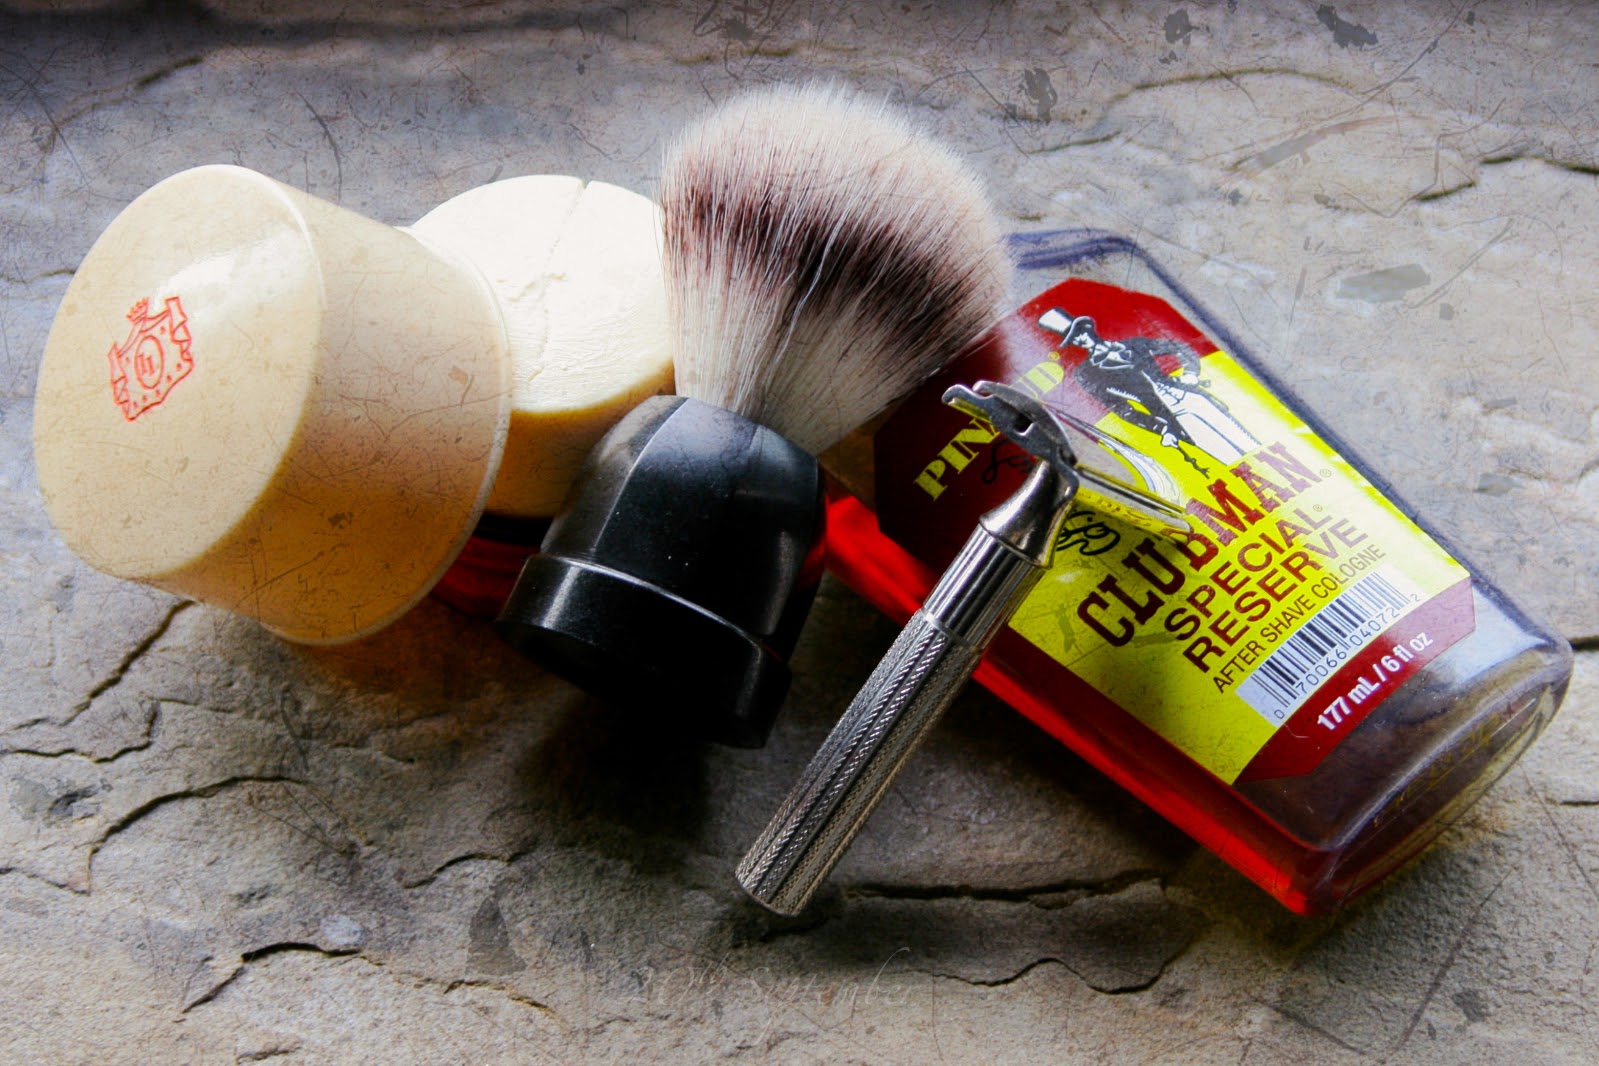
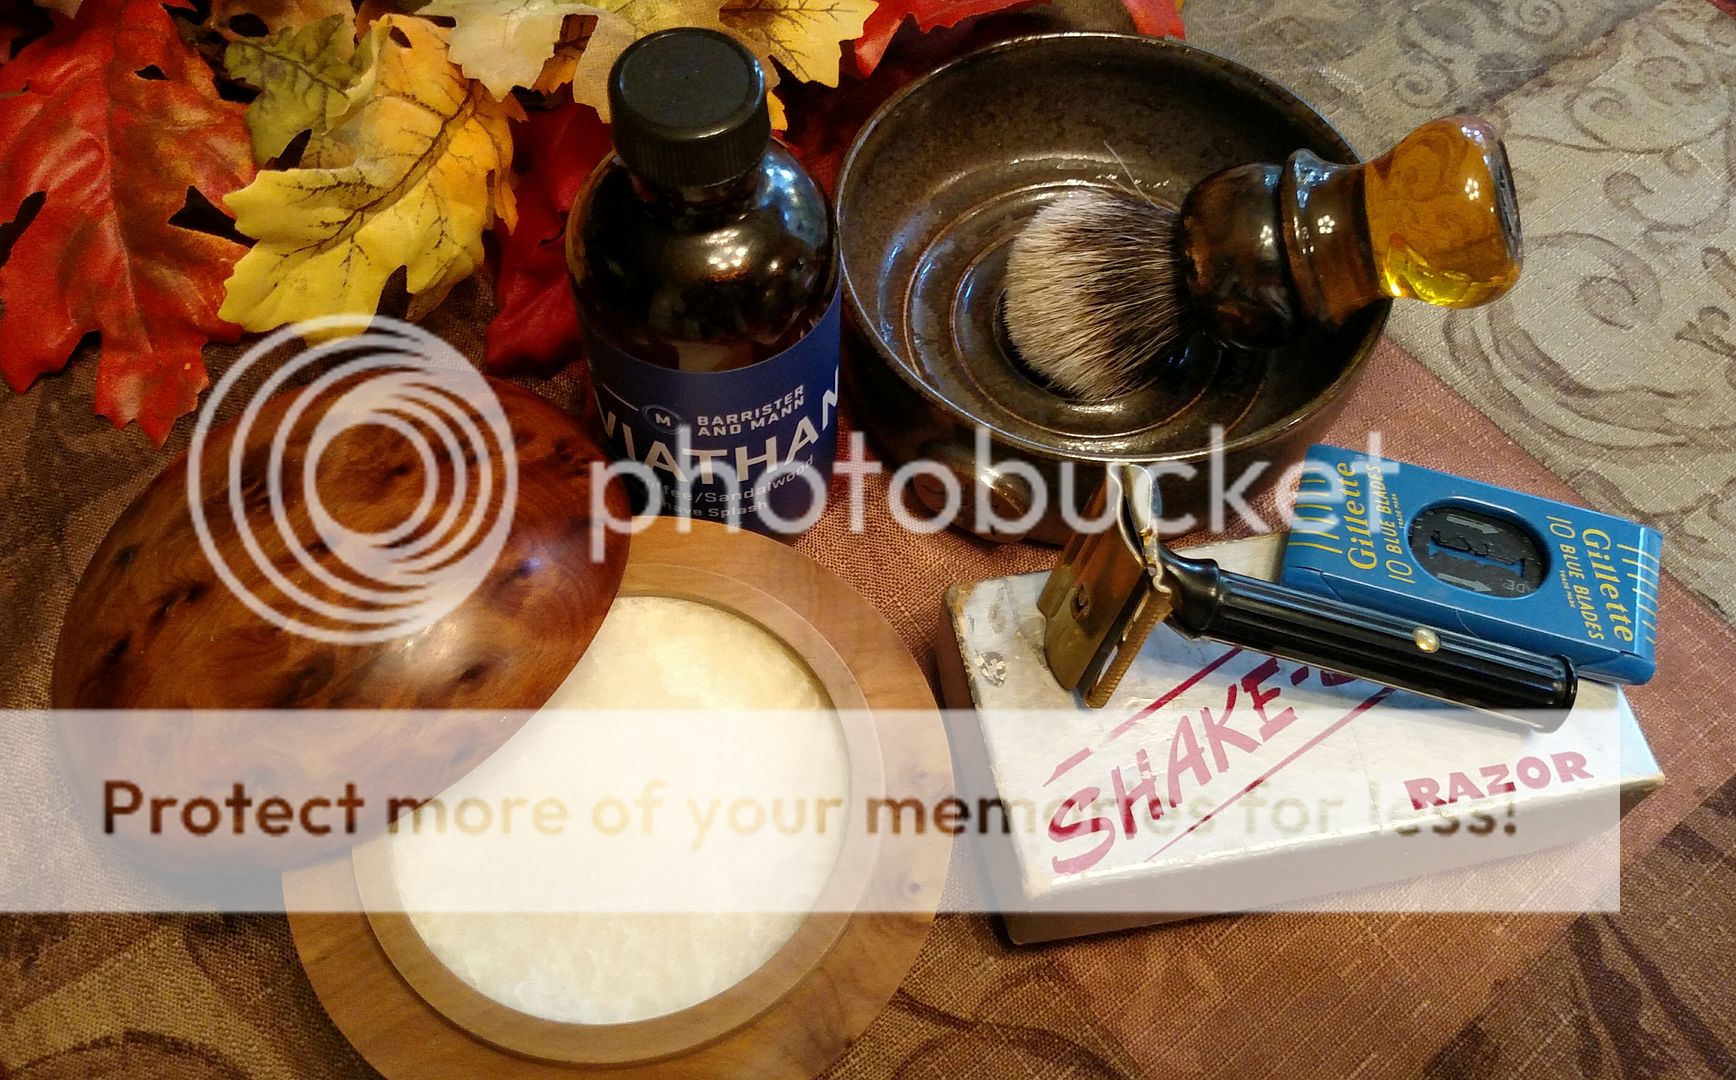
Example 1:
Running low on time, plopped the gear down on a black t-shirt I threw out across the table.
Grabbed the phone and snapped a shot.
Once in PS I made it darker to hide the wrinkly t-shirt and cropped off the table showing at the edges.
Done.

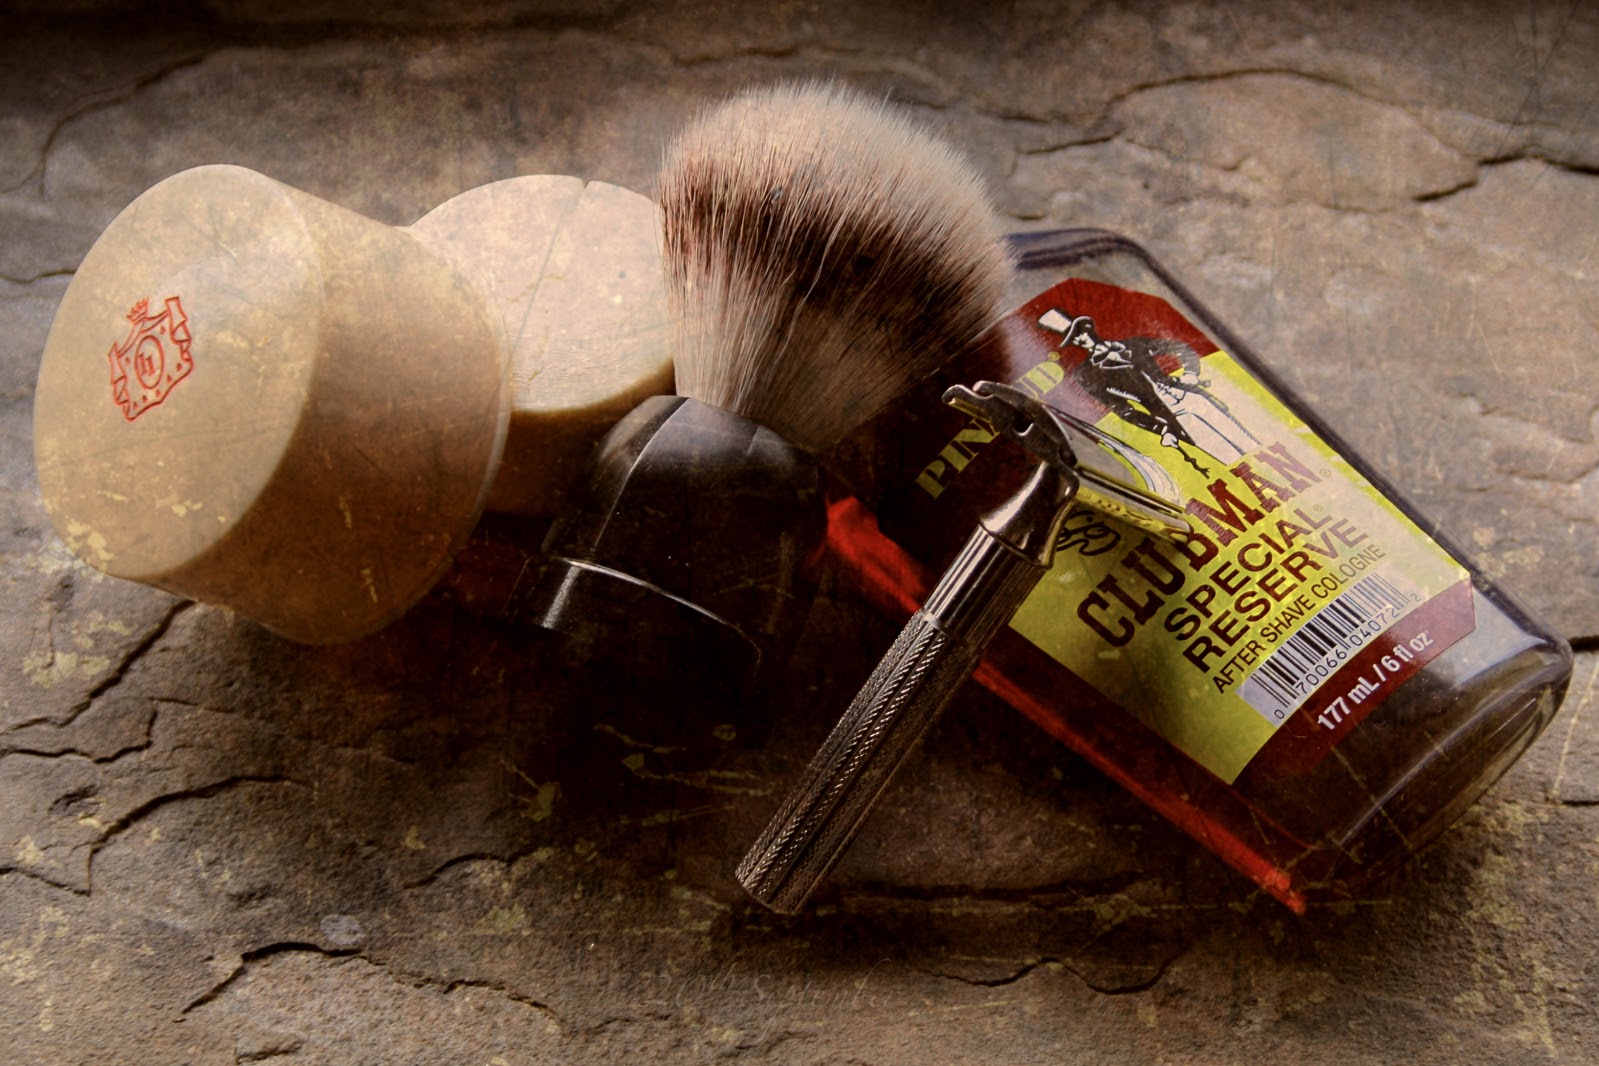
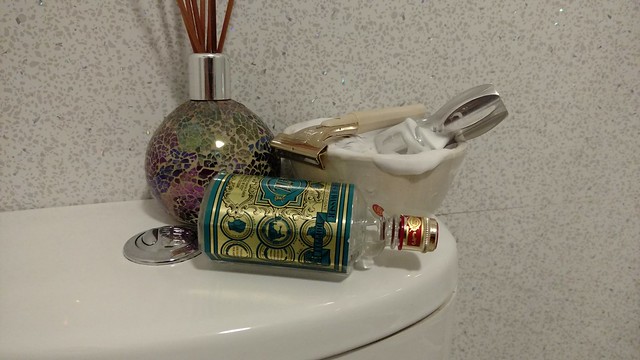
Example 2:
A regular set-up spot for me. In front of the fire place.
Unfortunately, I was once again a bit rushed. The composition is a bit odd cropping through the bottle cap, the whole thing leaning a bit, the overly yellow cast, etc...
Once in PS. Straightened up the angle, a rather aggressive crop and the yellow cast, well, we all know b&w photo looks much more artistic so saved some time just converting it to that

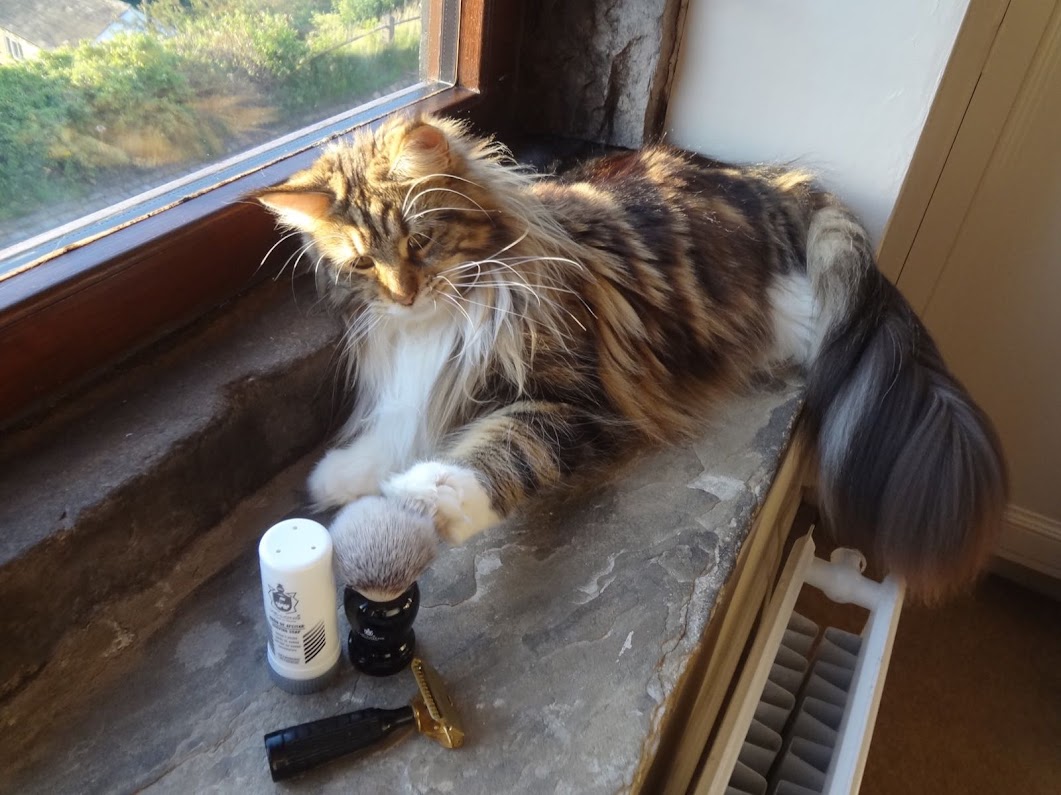
Really curious to see yours "before and after" and/or WHERE the photo was taken (windowsill, top of the toilet, etc)
I find 'behind the scenes' and/or 'before and after' photo threads interesting as they can, if nothing else, often be entertaining - and maybe in some cases re-assure one that you don't need fancy equipment/setup to achieve a look that you want.
Not that these photos of mine are any masterpieces in any way, shape or form but it could be fun to show that things are not as neatly planned/prepped as some photos may have you believe
Example 1:
Running low on time, plopped the gear down on a black t-shirt I threw out across the table.
Grabbed the phone and snapped a shot.
Once in PS I made it darker to hide the wrinkly t-shirt and cropped off the table showing at the edges.
Done.
Example 2:
A regular set-up spot for me. In front of the fire place.
Unfortunately, I was once again a bit rushed. The composition is a bit odd cropping through the bottle cap, the whole thing leaning a bit, the overly yellow cast, etc...
Once in PS. Straightened up the angle, a rather aggressive crop and the yellow cast, well, we all know b&w photo looks much more artistic so saved some time just converting it to that
Really curious to see yours "before and after" and/or WHERE the photo was taken (windowsill, top of the toilet, etc)